Cooking Tips with Taffy

Prep Like a Chef for the Holidays

Professional chefs have a secret to getting a lot of work done in a streamlined way: they use a prep list to organize their cooking. The secret to a good prep list is breaking recipes down into small steps, making it easier to pull off a large or small meal with finesse. This makes a huge difference particularly for big holiday meals!

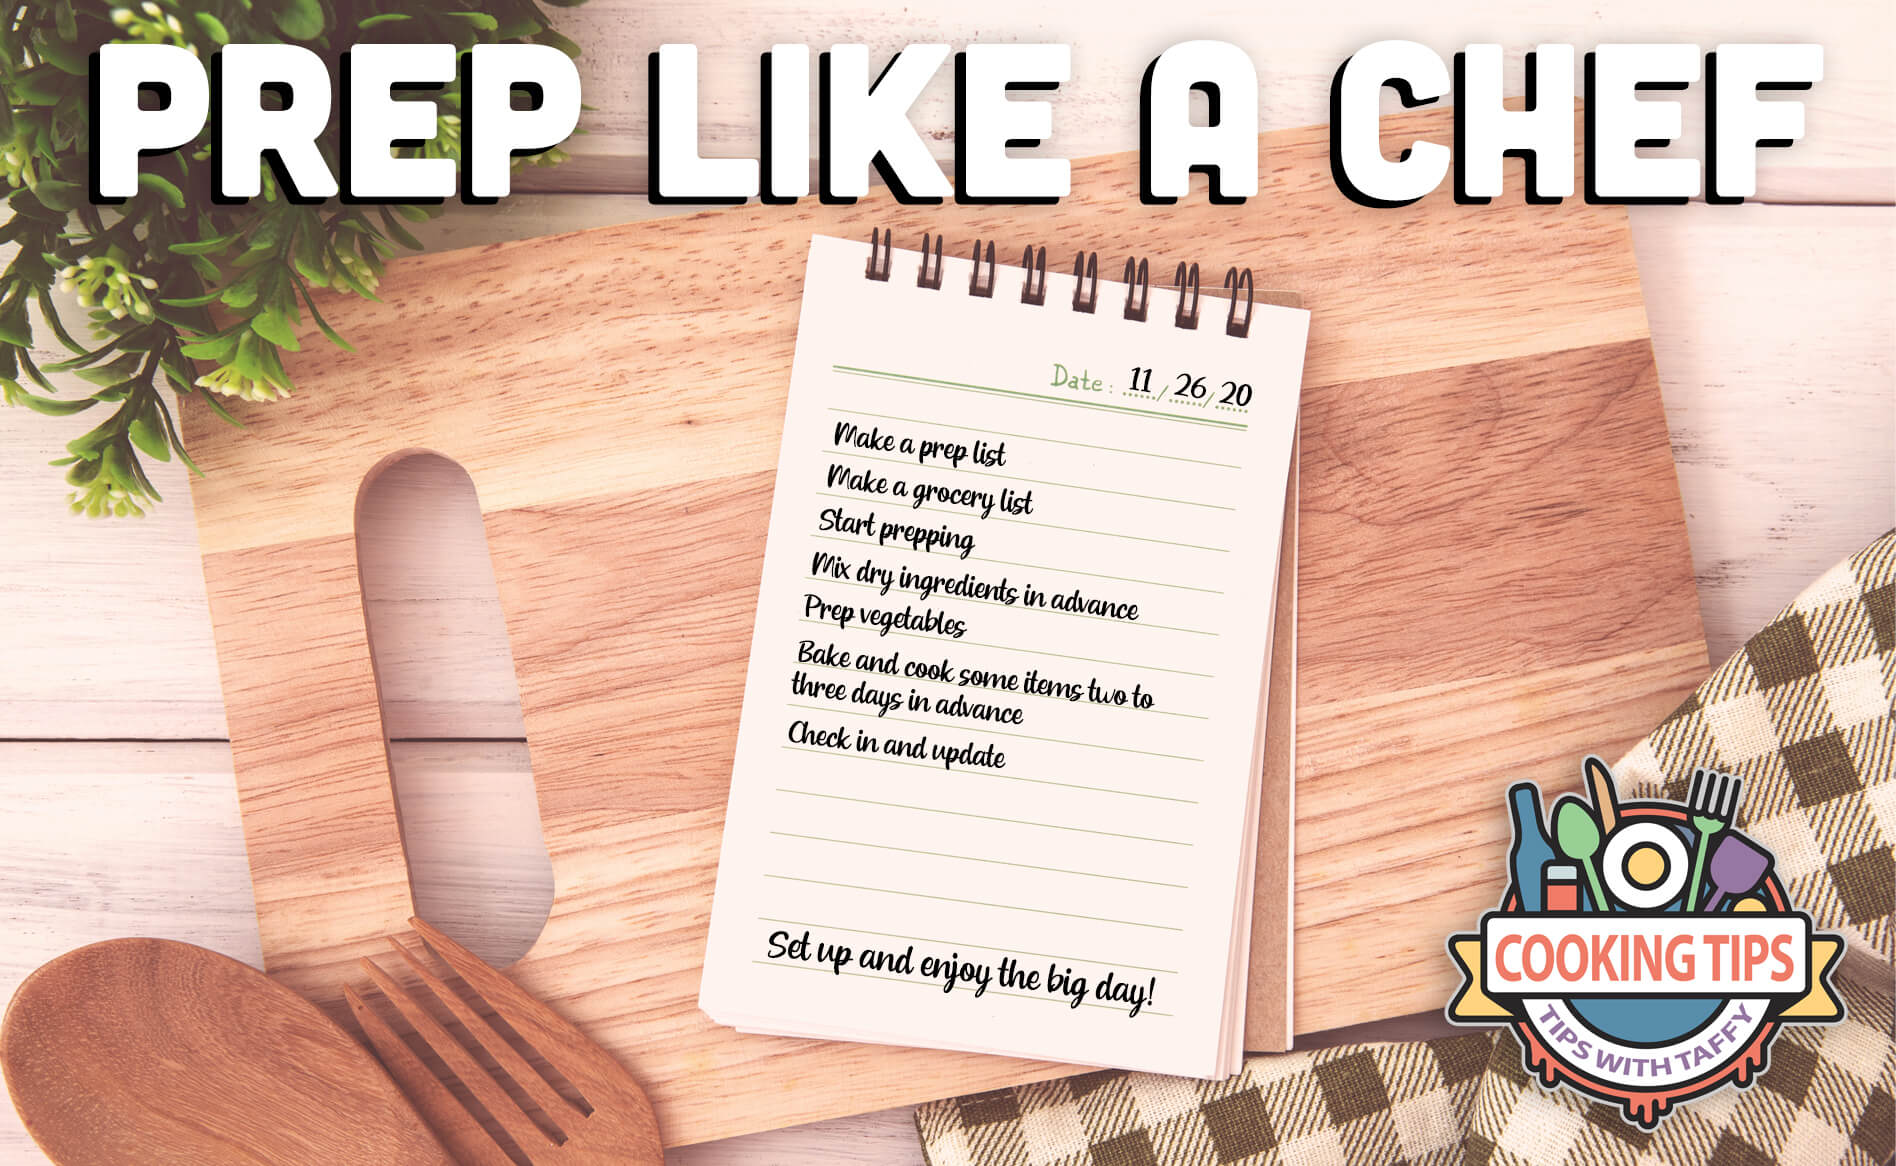
Here are eight steps to prepping like a chef for your own big day. 

Making shopping list
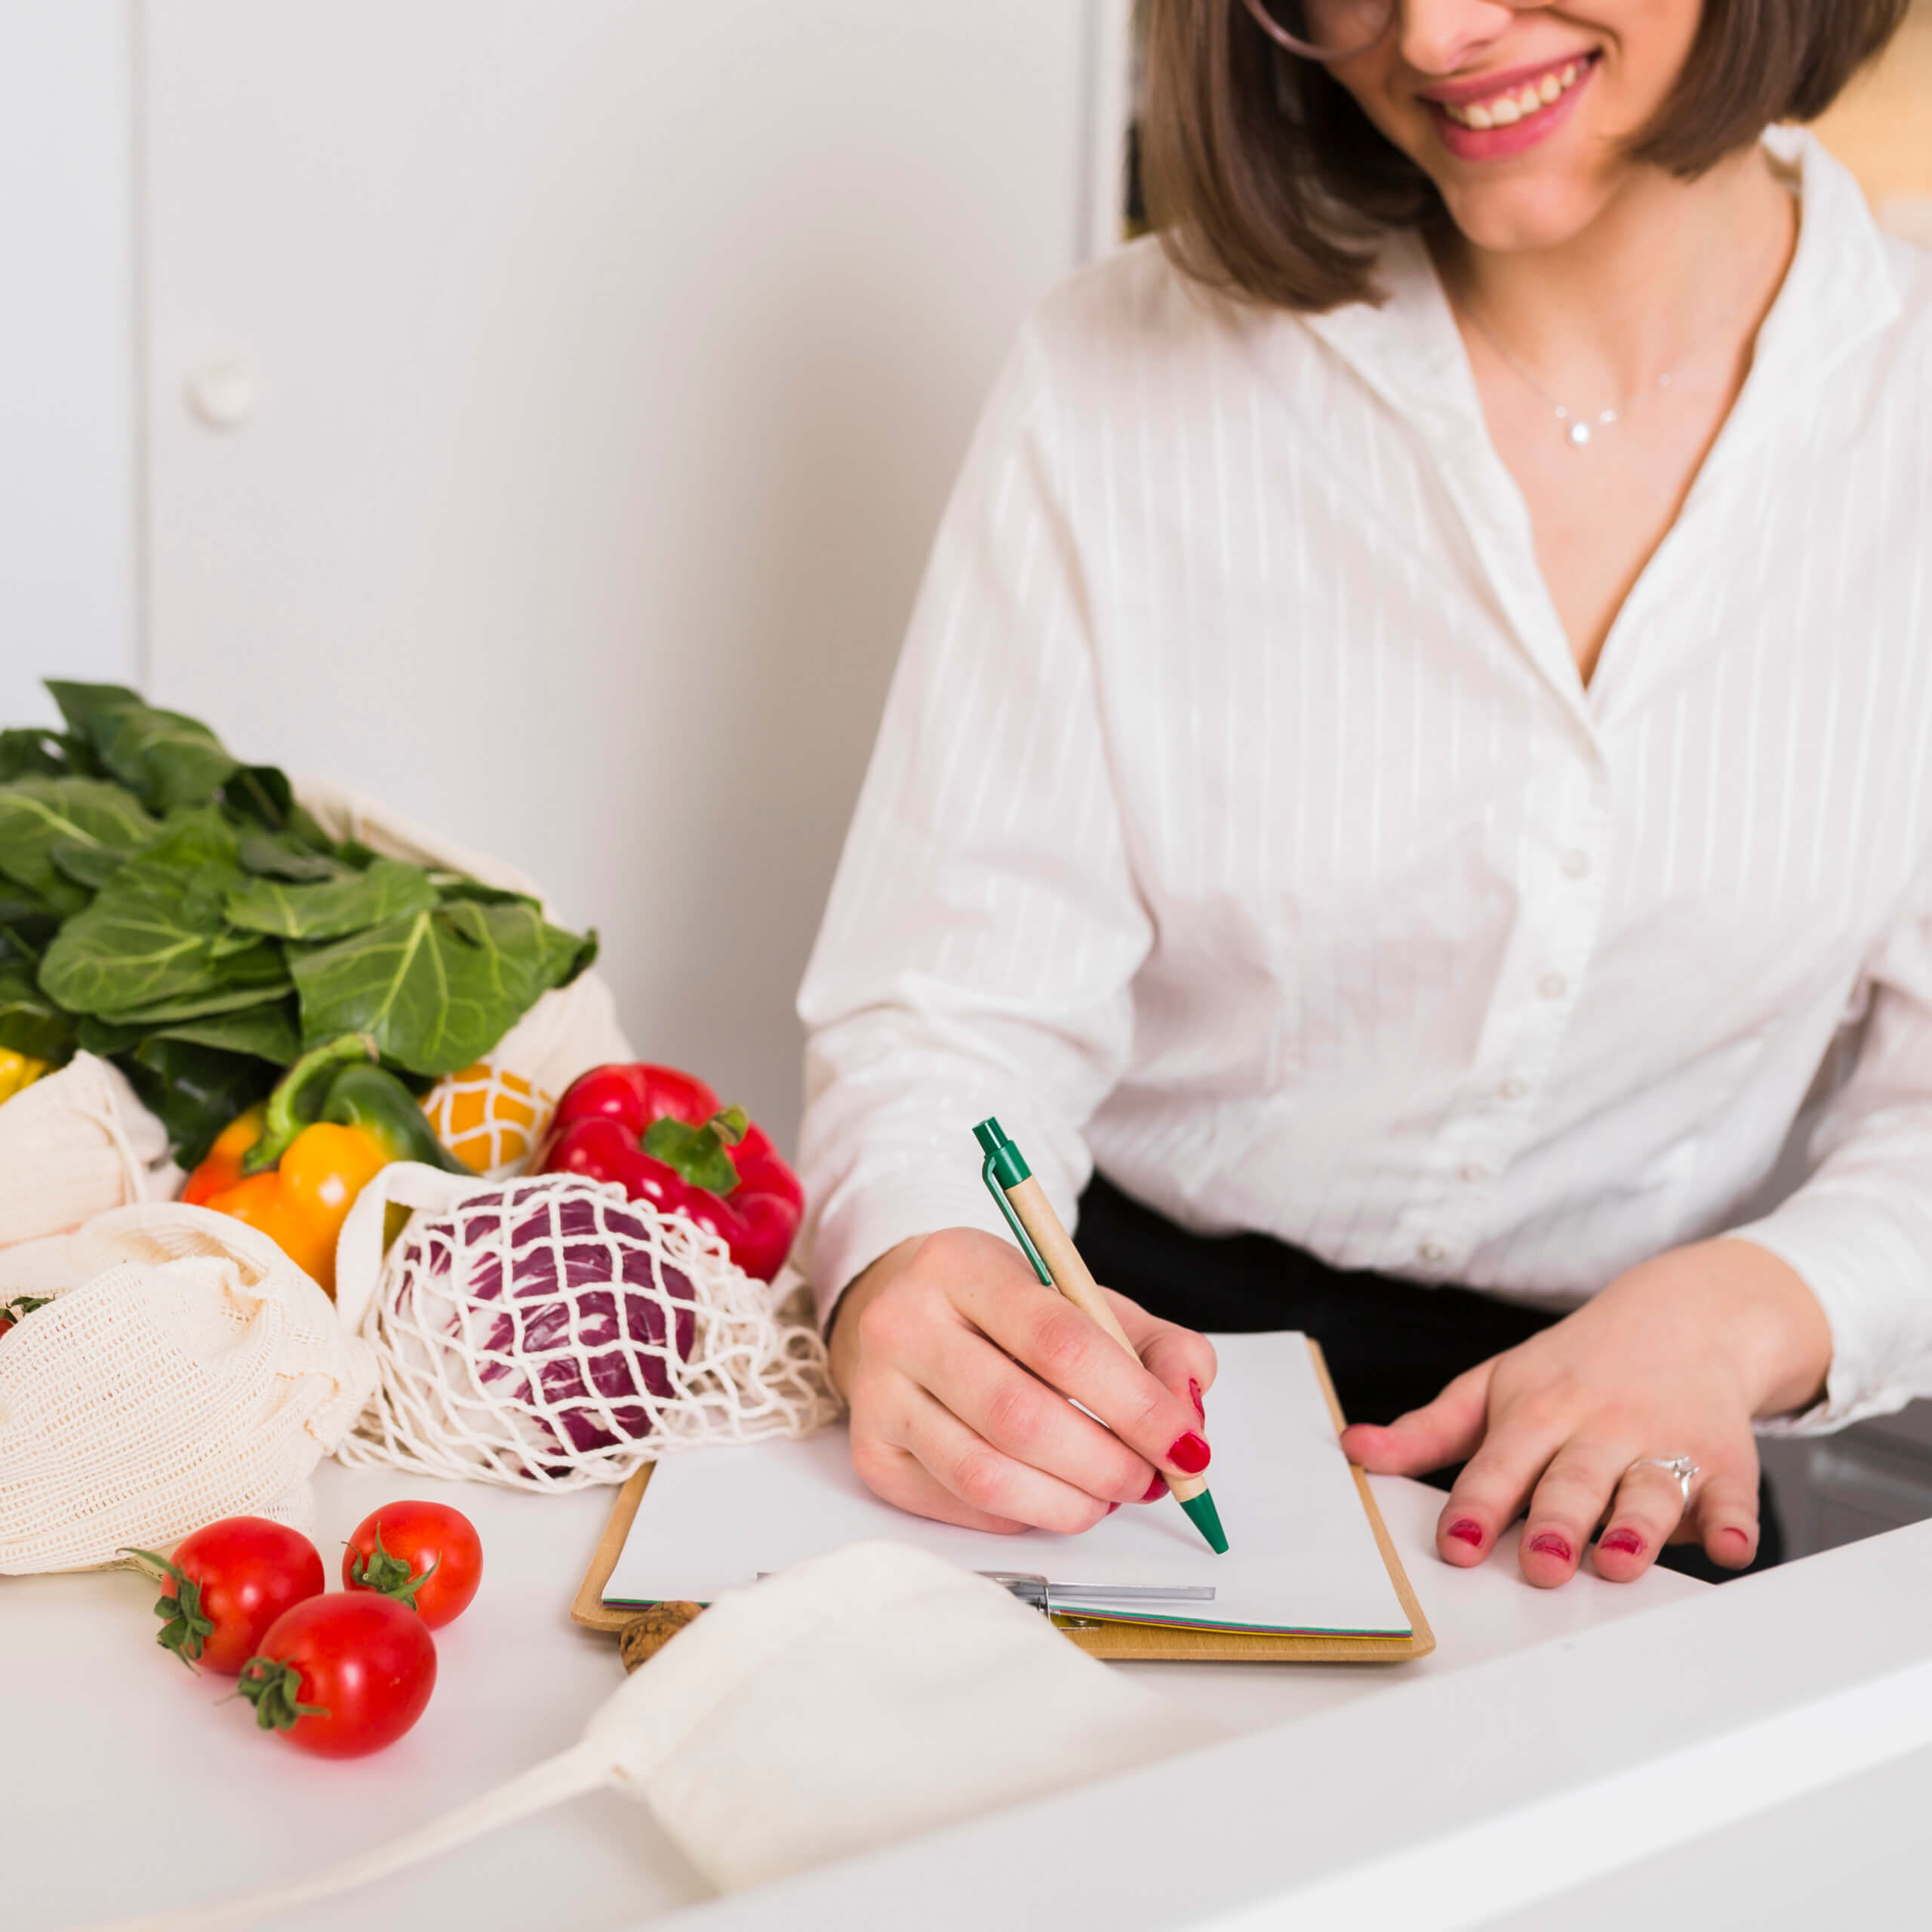
1. Make your prep list. Grab some paper and a pen and start by listing every dish on your menu, then break those dishes down into smaller steps that can be grouped together. When you turn the oven on, you can toast nuts and seeds, bake bread for stuffing, and roast vegetables for your stock all in one prepping session. When you work on the stovetop, clarify and brown butter, simmer stock, make cranberry sauce, and blanch vegetables. Chop all the vegetables at the same time, then divide them into portions for each recipe and label them accordingly. Remember to cross items off your list as you finish them.

2. Make a grocery list. Use your menu and prep list to make a detailed shopping list. Take note of the total amount you need of each ingredient so you can buy the correct amount and avoid going back to the store at the last minute for missed ingredients. If four recipes call for one cup of heavy cream, you will know you need a quart of heavy cream total. Don’t forget to buy extra if you need it for coffee, and garnishing desserts.

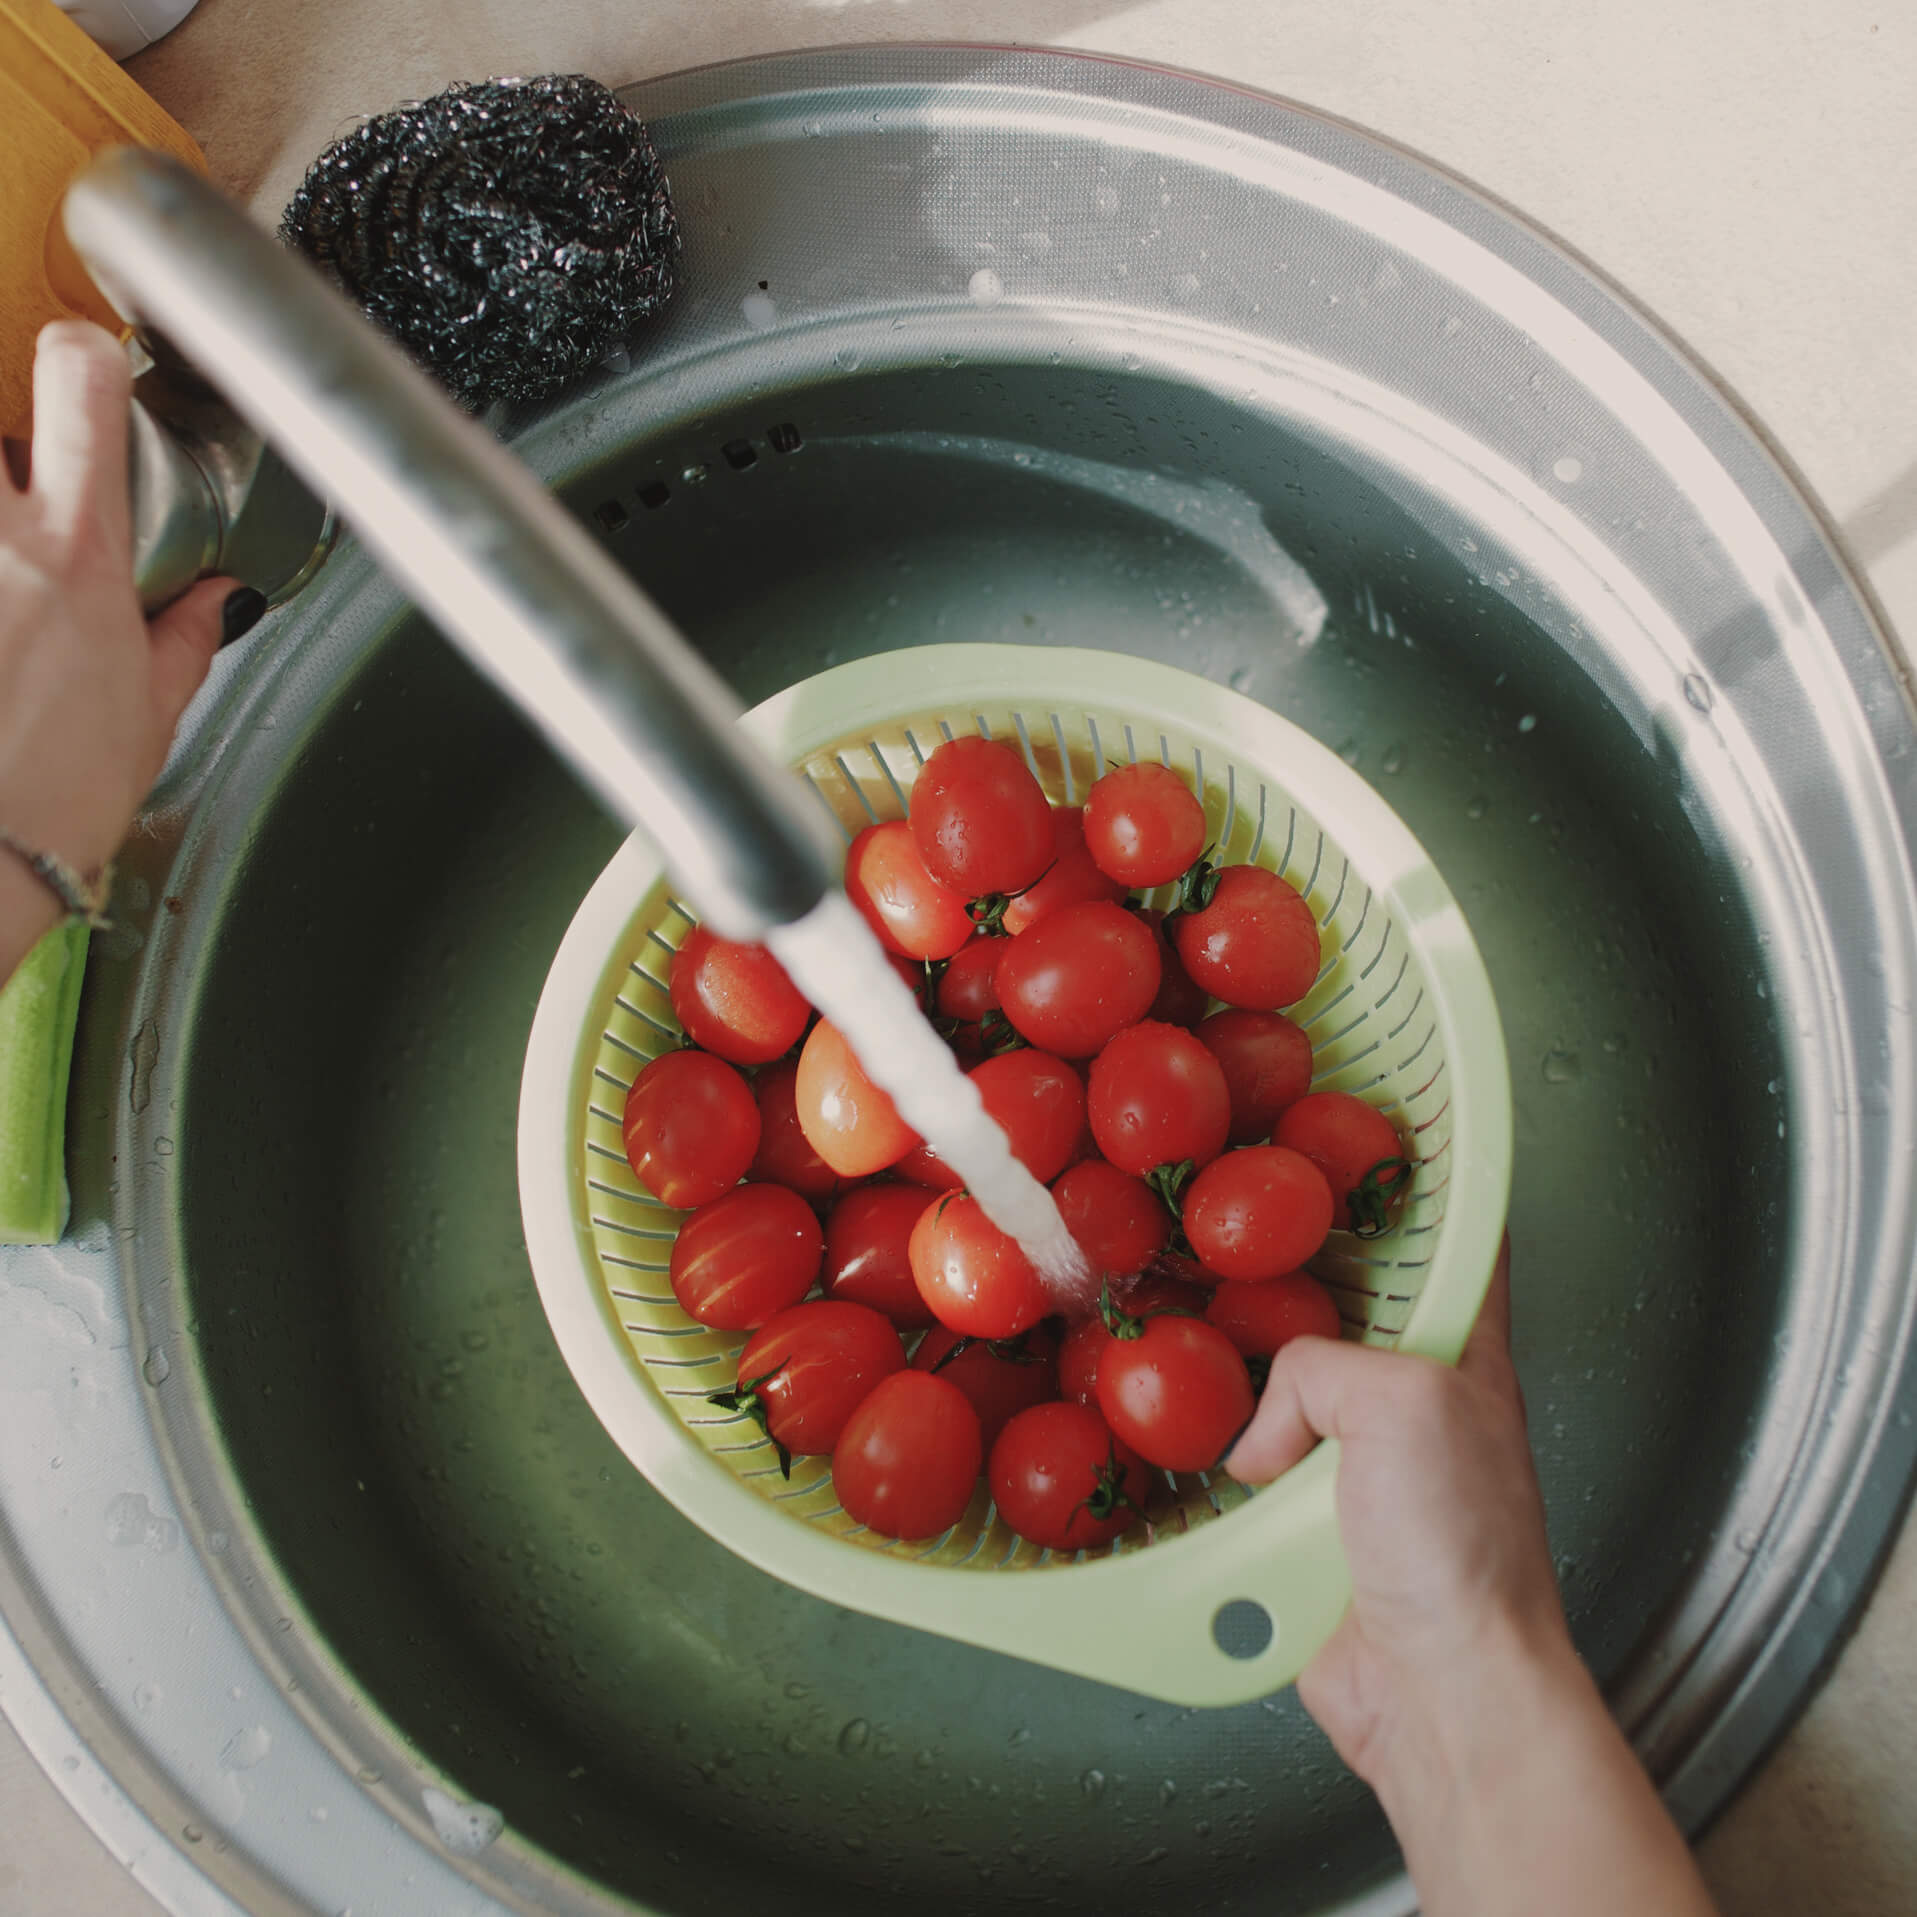
3. Start prepping. If you have time, prep what you can as you unpack your shopping. Place fresh herbs and vegetables like parsley, green onions, and celery in a large pitcher of cold water and cover them loosely with a plastic bag. Wash and dry greens before you put them away so they will be ready to use when you need them. Store cleaned greens, loosely packed and covered in a large container lined with lightly damp cloth. Divide large packages of meats, cheeses, and nuts into smaller portions before storing or freezing.

washing vegetables
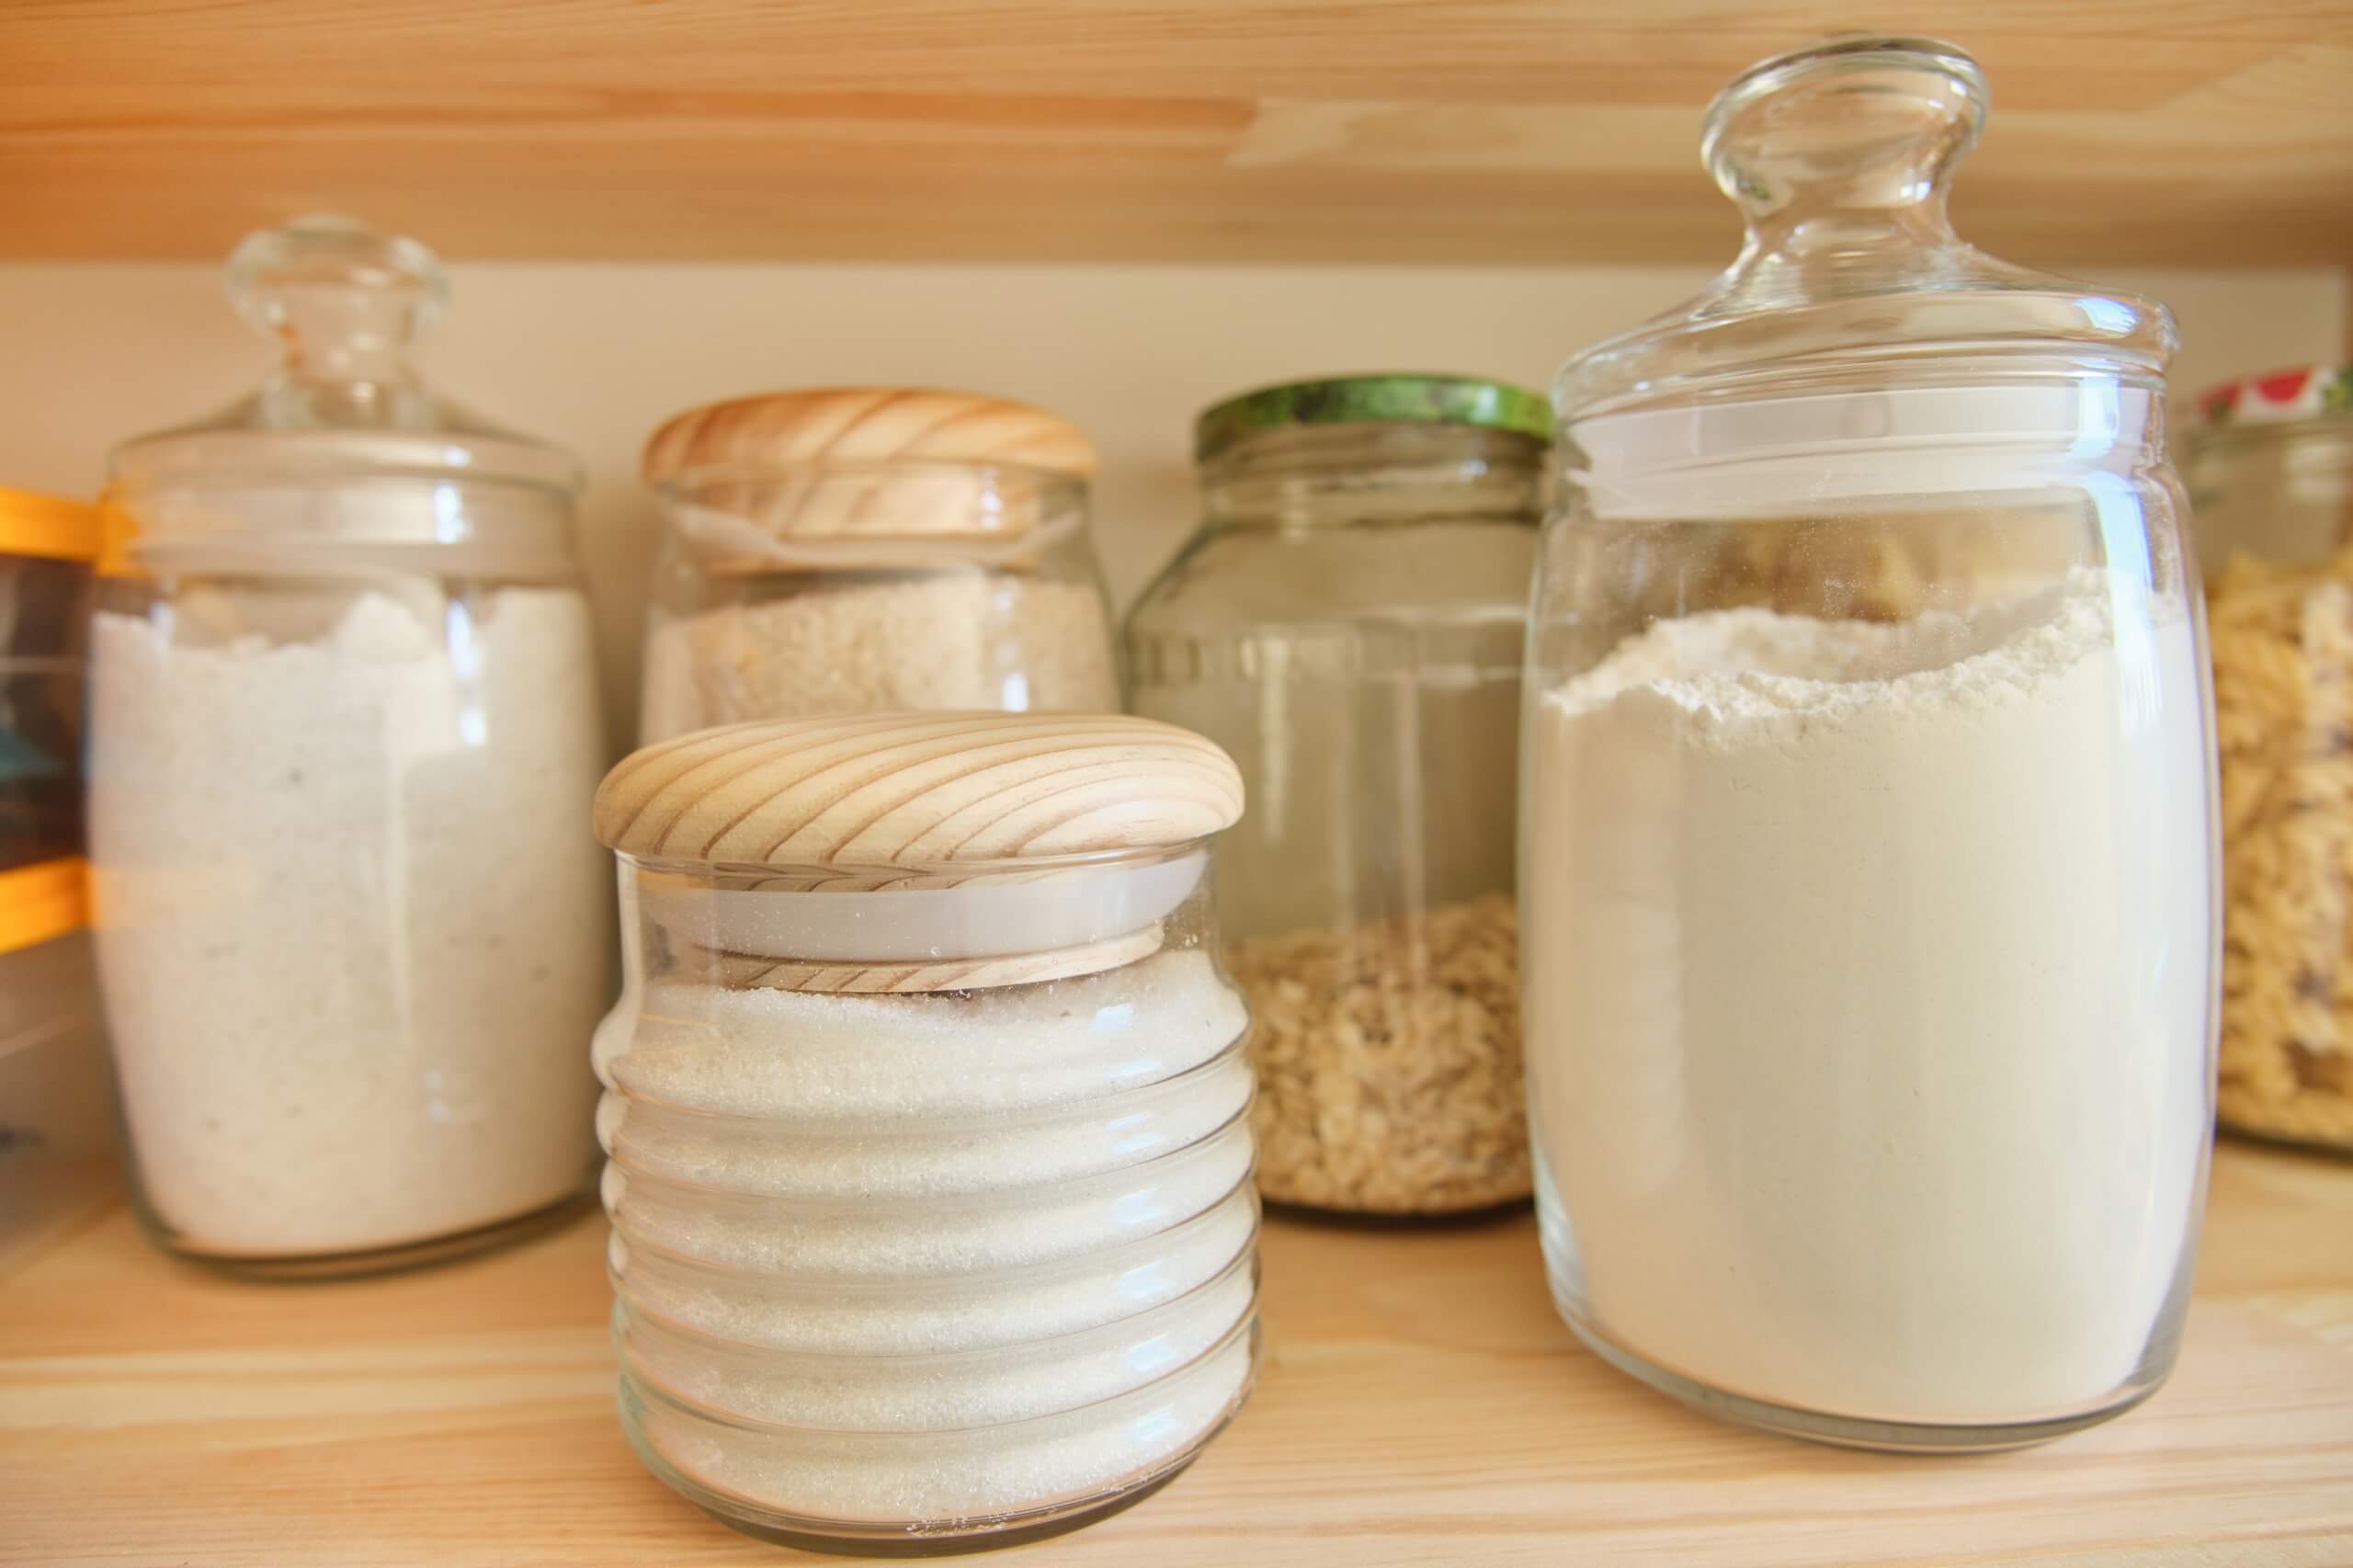
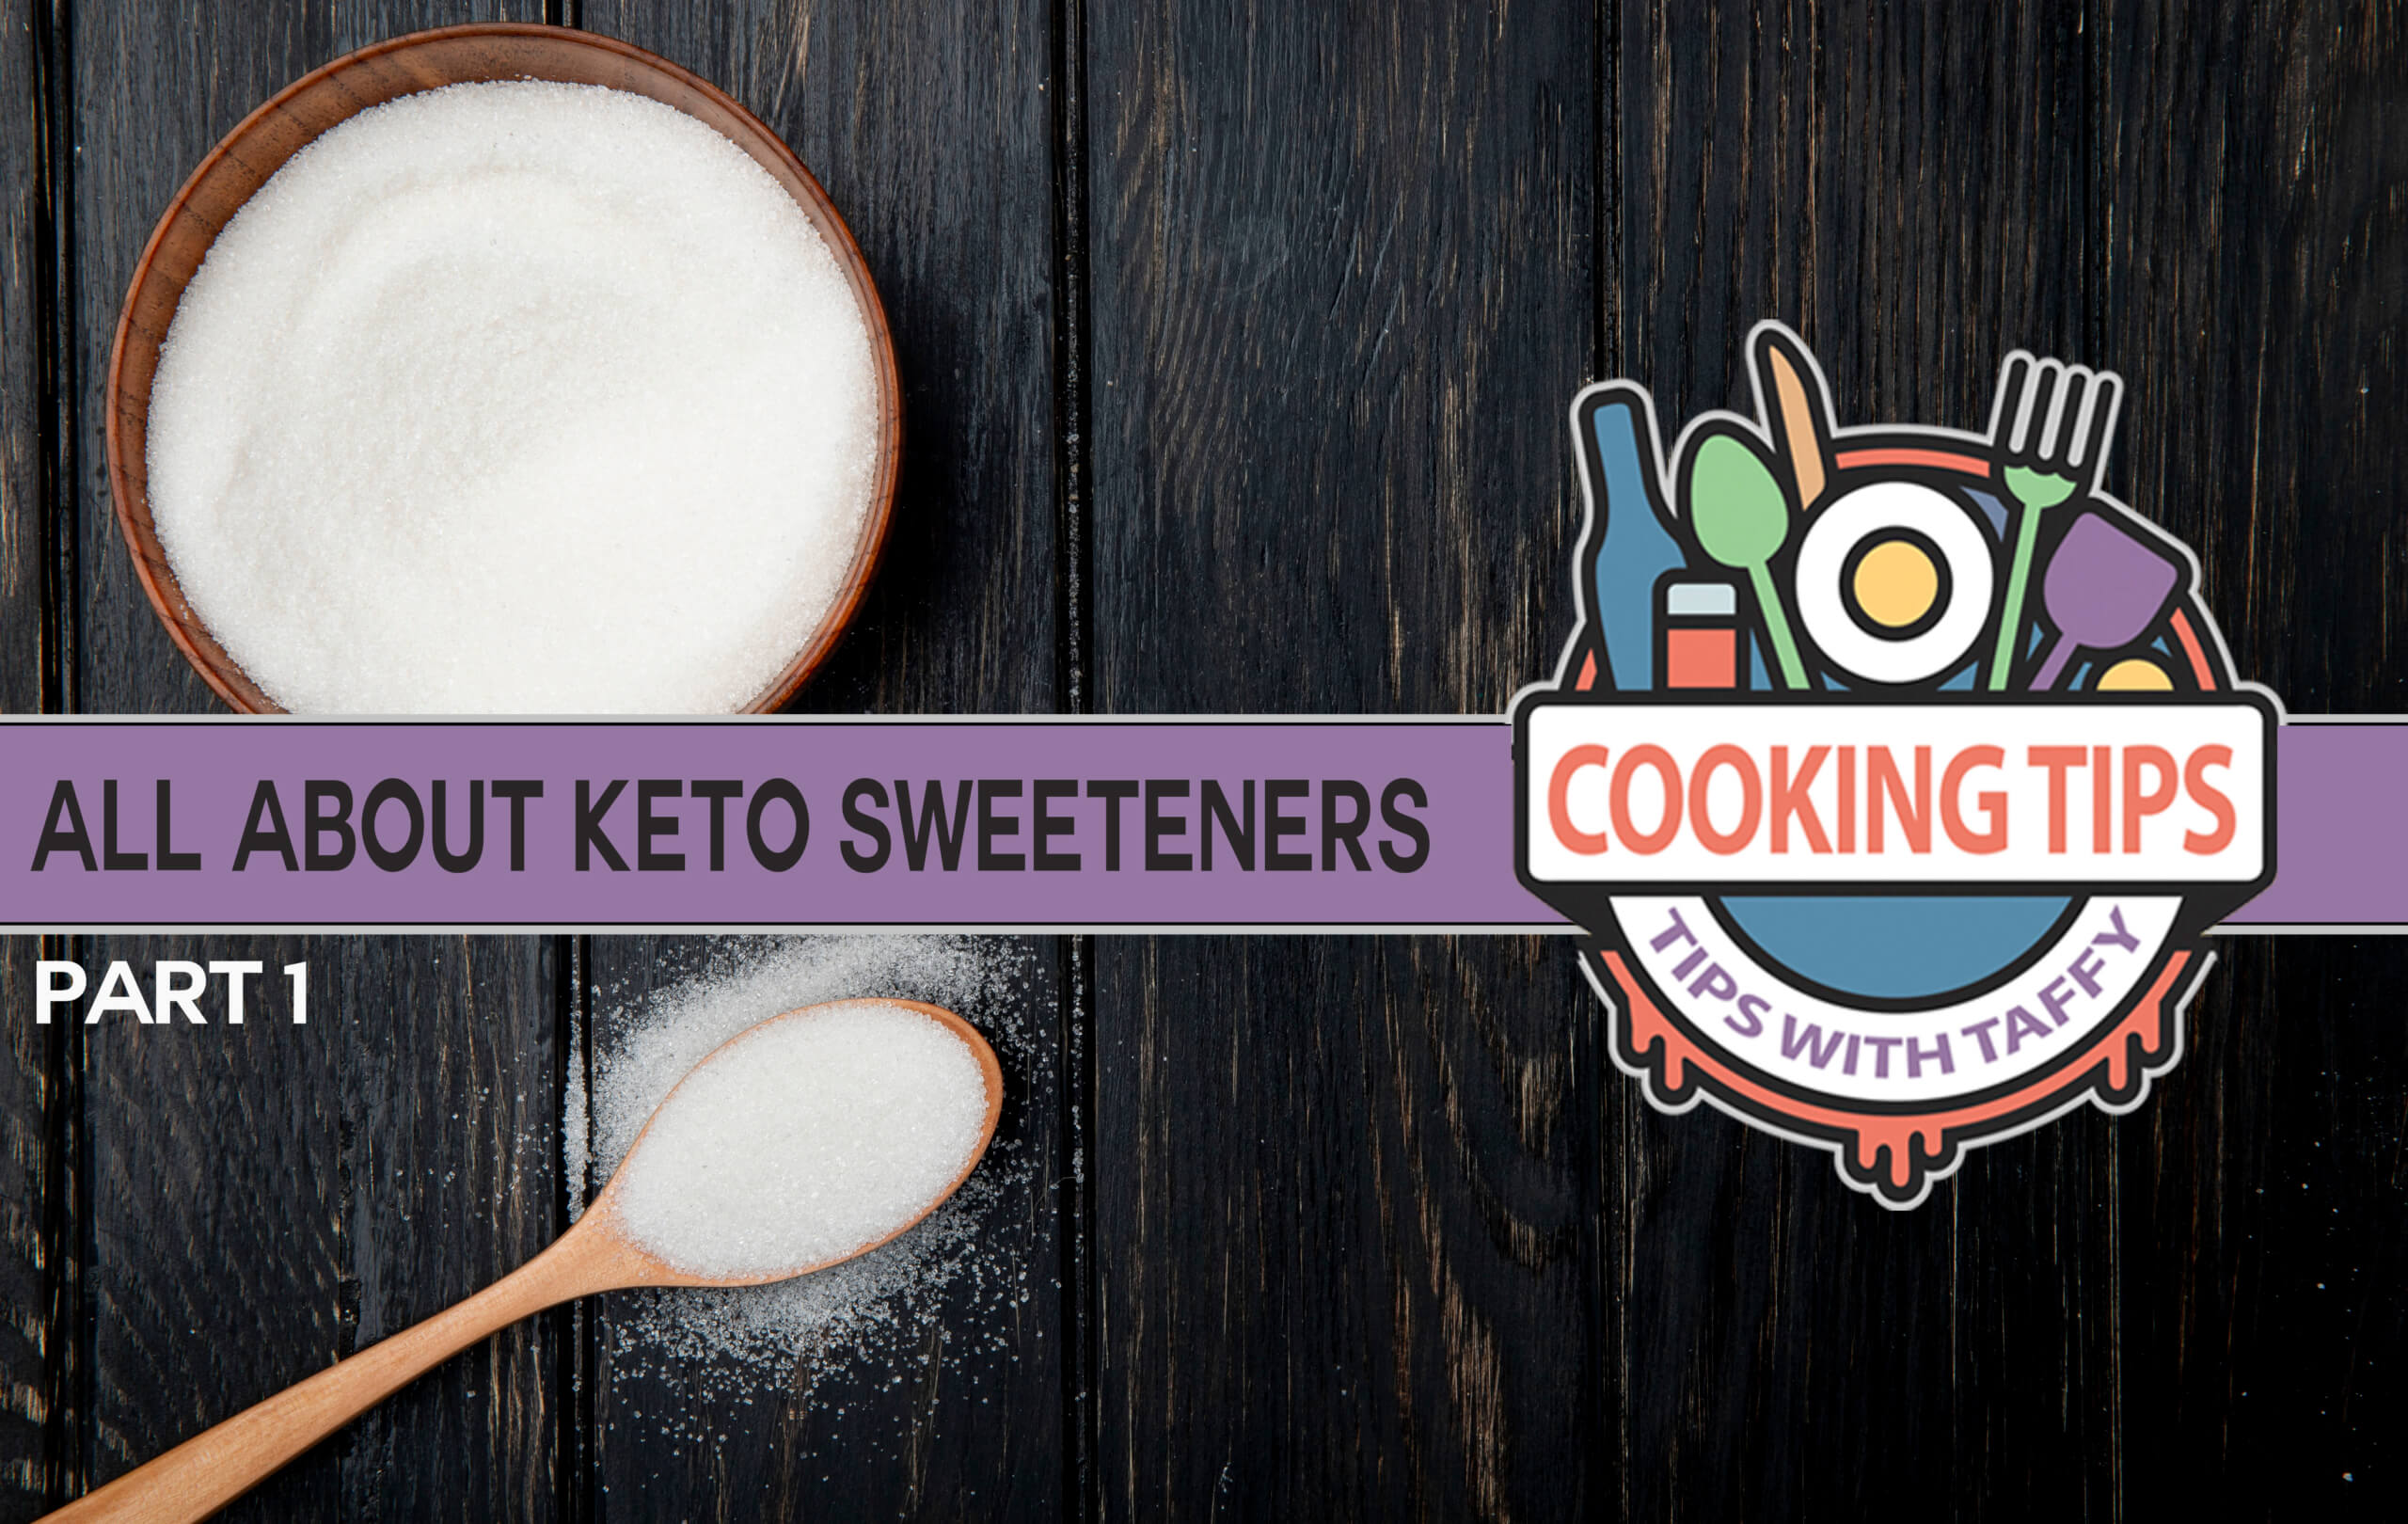
4. Mix dry ingredients in advance. If you have a few recipes for baked goods or other dishes that call for mixing dry ingredients, you can measure, mix, and store them in small containers in advance. Label them with the name of the dish and how much you have in the container. This way, you can pull out all of your Keto Chow flavors, keto flours, and sweeteners at once, then put them all away and avoid fussing with them on the day of the big meal. With most dry ingredients, you can do this up to a week in advance.

5. Prep vegetables. Most vegetables can be prepped up to three days before you cook a dish. How many onions do you need for all of your recipes? Chop them all at once. When it’s time to cook, just reach for your prepped vegetables. You can prep all the vegetables for each recipe and store them together or store chopped onions, celery, and garlic separately and measure them as you need them.

making mini pies

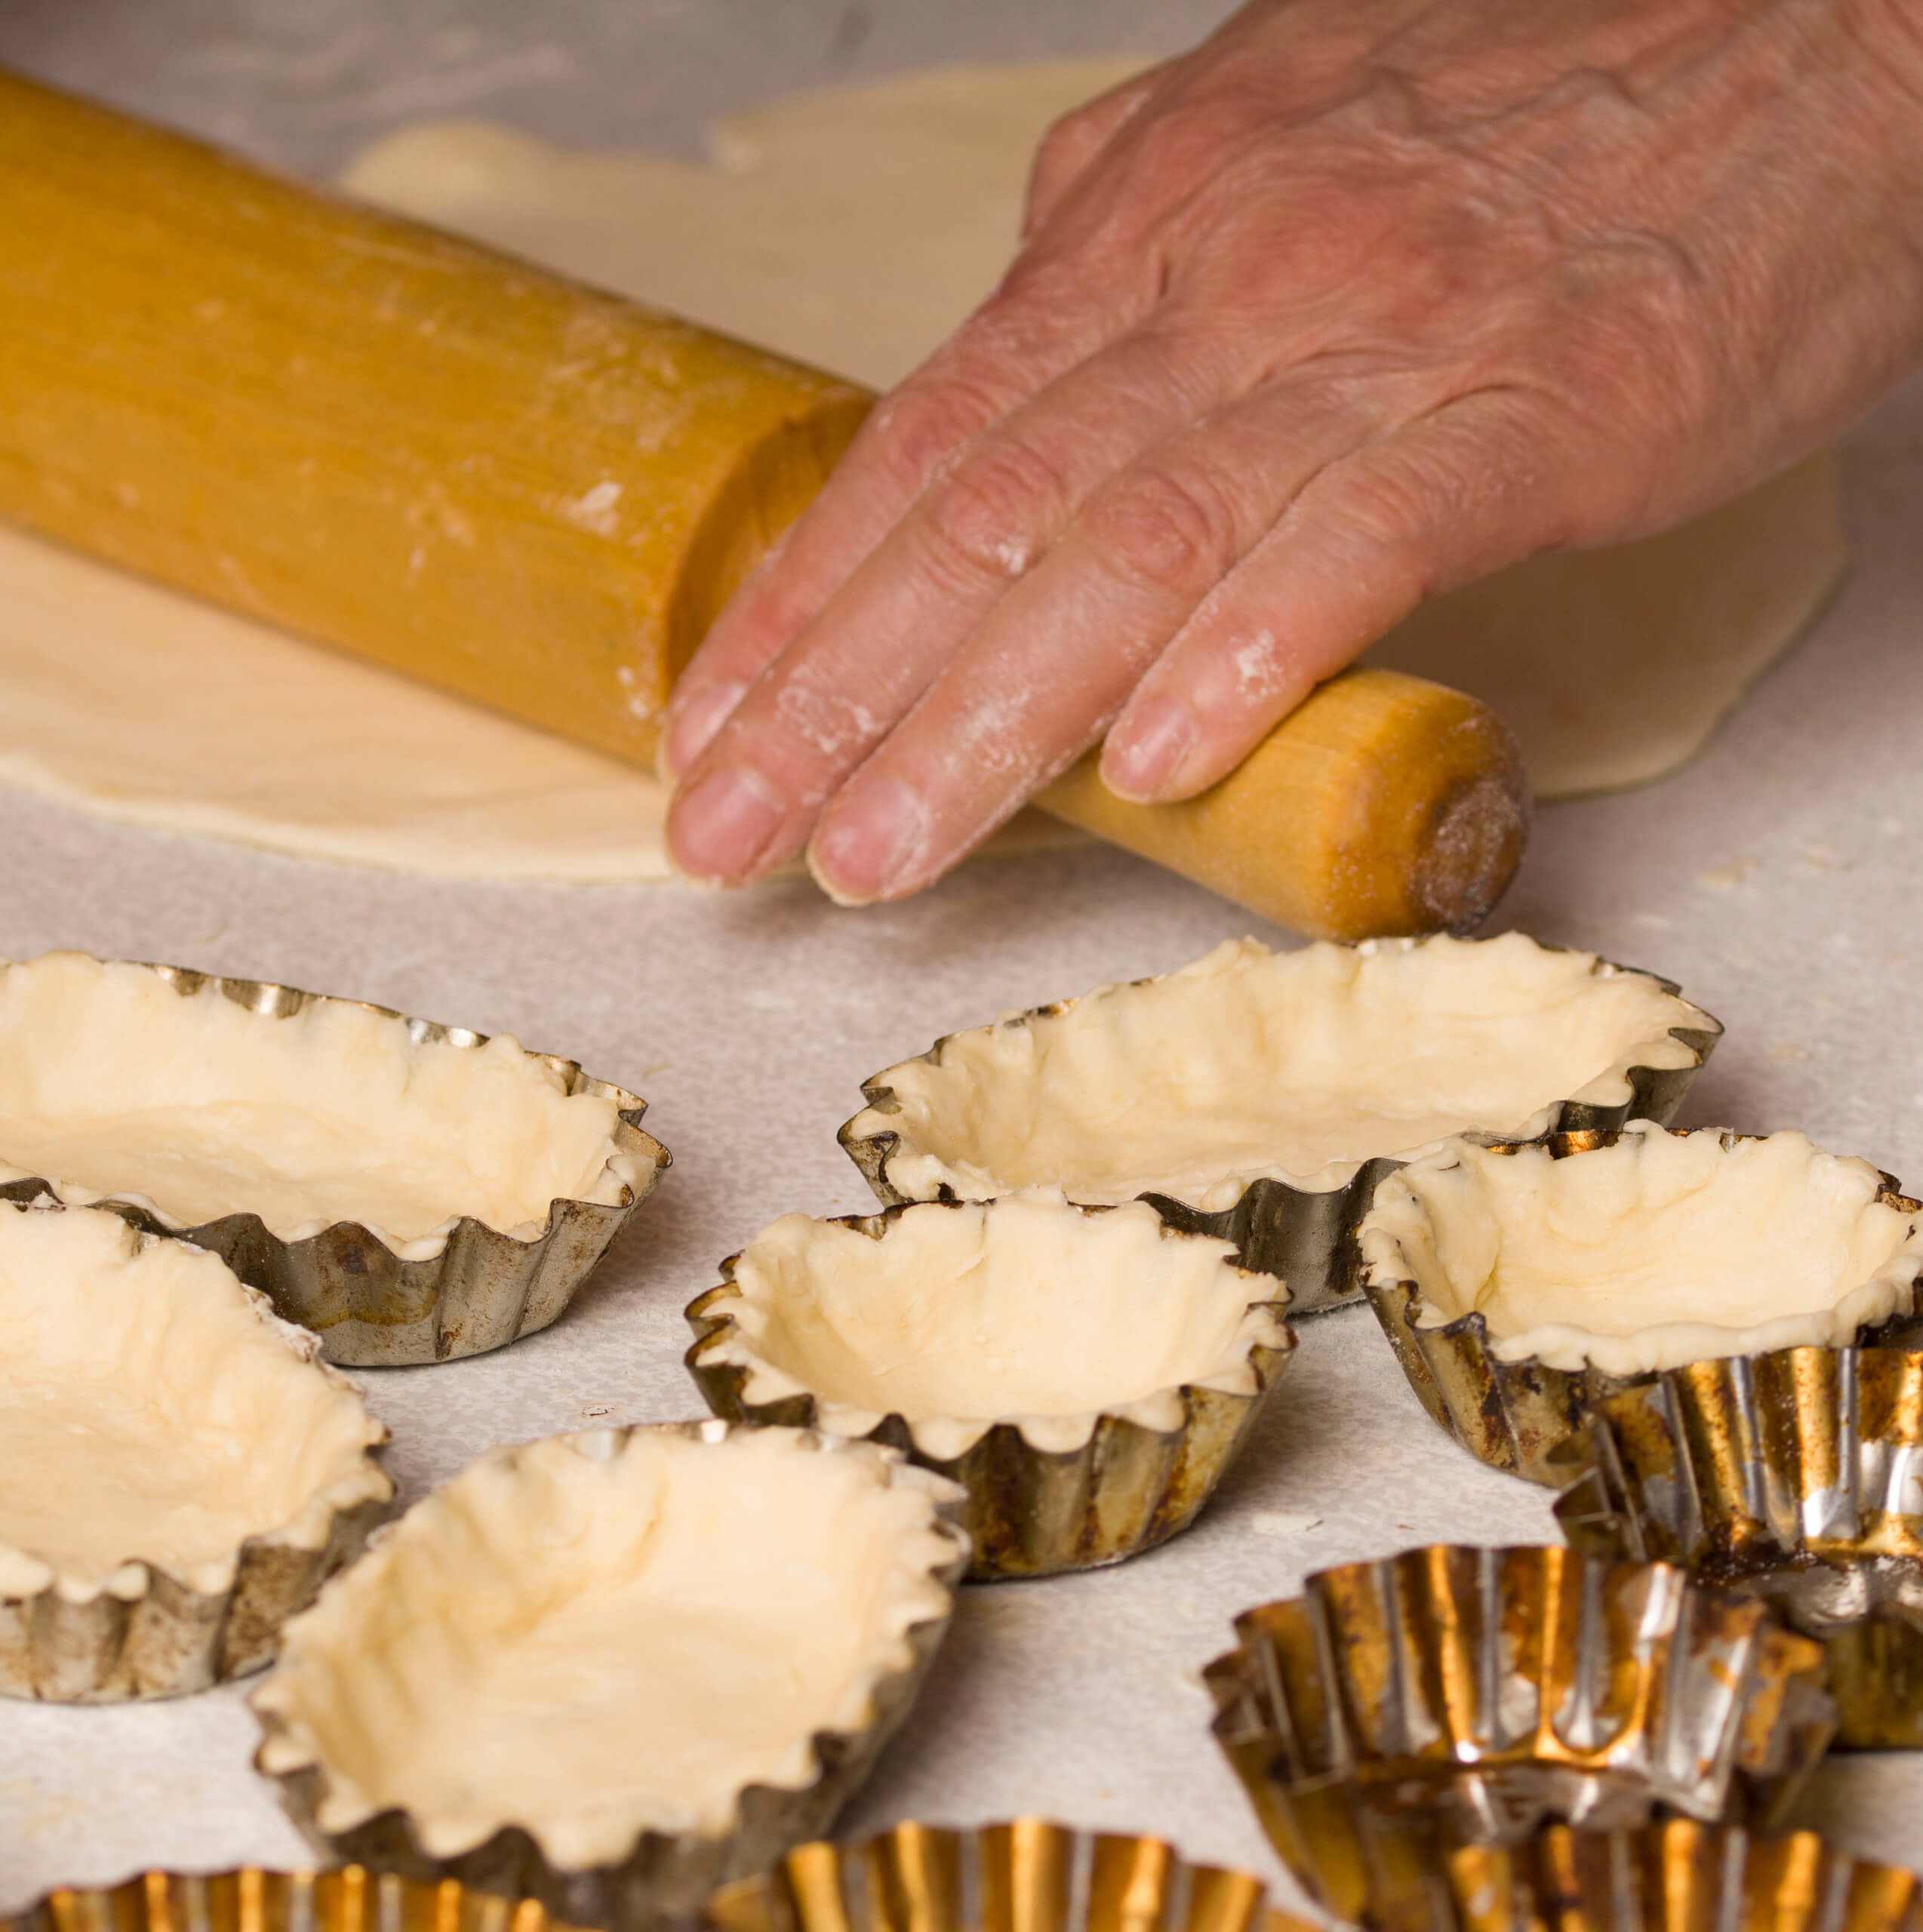
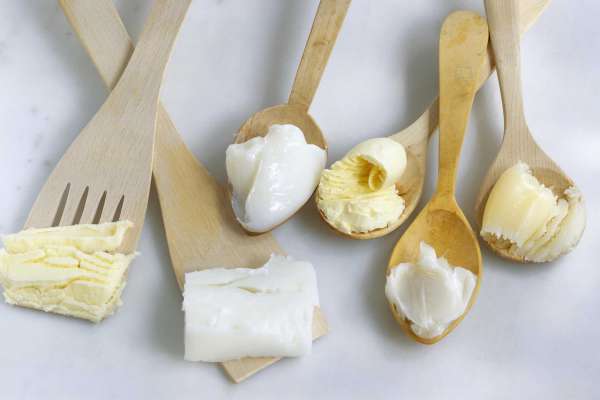
6. Bake and cook some items two to three days in advance. For example, make and par-bake pie crusts, or bake keto breads that need to dry before they can be used in stuffing. Make desserts like ice cream that need time in the freezer. Make stocks, compound butters, and cranberry sauce. Toasting nuts and seeds is another step that you can do in advance.

7. Check in and update. Two days before the big day, check your list and make sure you haven’t missed anything. Regroup and double check that you have all the ingredients you need, and that everything looks good. Some ingredients I always check for are butter and heavy cream, as they both seem to go faster than expected.

8. Set up and enjoy the big day. By the day of your big meal, you should have a good idea of what exactly needs to be done and when. Pull out any ingredients that need to be at room temperature about 30 minutes before you plan to use them. Preheat the oven and set up any equipment you will need. Now enjoy the final flourishes of preparing a special meal. You deserve to enjoy time with family and friends, too!


View our free Thanksgiving e-book here.

By |2020-11-30T15:01:44-07:00November 19th, 2020|Categories: Cooking Tips with Taffy|Tags: , , , |0 Comments

All About Keto Sweeteners: Part 1

Part 1: Granulated Sugar Replacers

Have you noticed how many keto-friendly sweeteners are available these days? It’s getting more and more complicated to sort them all out, let alone decide which one to use. But even though it seems as if there are dozens of sweeteners to choose from, most of the sugar-free sweeteners available are made from the same few ingredients. Once you know what those ingredients are and how they function in cooking and baking you can decide which ones you want to invest in.  

I have also noticed that there doesn’t seem to be any standard for making the claim that a sweetener “tastes and cooks just like sugar” in fact as far as I can see almost all keto-friendly, granulated sweeteners make this claim. However, I have found that they vary widely in taste, texture, and results. I can’t say any of them taste or cook “exactly” like sugar but some of them do come close and when you combine  different sweeteners for the result you want they can come very close to approximating sugar.

If you want to replace the sugar in something like a brownie, cookie, or ice cream, you have to account for more than the sweetness in the mixture. You have to replace the sugar by weight or volume as well because it can be up to 75% of the total weight or volume of the overall product. In cookies for instance sugar usually supplies 25 to 50% of the volume, and it contributes to the cookies’ distinctive traits such as crispness, browning and flavor. In ice creams sugar supplies some of the volume of the mix, but more importantly it contributes to the texture, binding water to keep the ice cream from freezing too hard. 

Erythritol, xylitol, allulose and Bocha Sweet are granulated sweeteners that can be used to replace sugar in keyways. They deliver sweetness and they also deliver volume, body, and texture. They all have different levels of sweetness and different cooking qualities. It may take some experimenting to decide exactly what works for you but they can deliver excellent results when used with care. 

  • Erythritol is the work horse of the sugar-free world. It is a sugar alcohol that can be found granulated and powdered and is the carrying agent in most sweetener blends, like monk fruit and stevia blends. it’s inexpensive and it offers many uses. It does have a cooling effect as an aftertaste, and it doesn’t truly dissolve, so it recrystallizes after being cooked. This means it can add a crunchy texture to baked goods, which is great for things like biscotti, granola and brittles, but less good for custard-based pies, and creamy caramels. It’s mildly sweet and functions best with another sweetener like stevia or monk fruit to strengthen its sweetness. 
  • Xylitol is another sugar alcohol it has been in use for quite a long time. It is especially popular in chewing gums, candies, and dental products because it has a beneficial effect on dental health. It is considered a natural sweetener, it has a similar flavor to sugar, with no obviously detectable aftertaste. It can be used for most cooking and baking. It can be used to make ice creams that don’t freeze hard and custard based pies that stay soft. It is almost as sweet as sugar and can be used 1:1 in replacing sugar in recipes. 

*Xylitol even in small amounts is dangerous for dogs so many people choose not to have it in the house at all. 

  • Allulose is a sweetener that is quite new to the market. It’s a naturally occurring “rare” sugar that can’t be metabolized by the body.  It does bring many of the characteristics of sugar to baking and cooking which is very exciting. It is more costly than some other sweeteners, but you will get a lot of use out of it. I would say skip sweetening your coffee with it if you have another alternative for that and save the allulose for baking and making sweets when you want to impress. Allulose can caramelize first and foremost and makes ice cream scoopable and soft. It helps keep moisture in baked goods too. It does tend to brown quickly however so it can make baked goods look overdone, and it stays soft after cooking, so it doesn’t achieve a crunchy texture with it in things like brittles or crisp cookies. 

*One caveat allulose can cause digestive distress so it’s a good idea to try it in small doses to begin with. Your digestion should adjust as you become accustomed to it, but it can be a steep learning curve.

  • Bocha Sweet is a very new, still quite uncommon sweetener and in fact the only information I have found about it originates from the producer. As the name suggests bocha sweet is derived from kabocha squash and is considered a natural sweetener. It is still expensive but many people have reported enjoying the taste and texture which is similar very similar to table sugar. It has no aftertaste and few side effects. The good news it’s an easy 1:1 replacement for table sugar and has many of the qualities of sugar in cooking and baking, including keeping ice creams scoopable. 

I have baked and cooked with all of these sweeteners to some degree but I thought it would be nice to apply some science and try a side by side comparison in a baking experiment and really see what kind of results I would get when I switched out just the sweeteners in a simple recipe that was otherwise identical, and in which the sweetener is obvious.

I made the classic three ingredient peanut butter cookies that I first learned to make in middle school:

1 cup peanut butter, 1 cup sugar, 1 large egg


I made a batch of cookies with each sweetener, unsweetened-creamy peanut butter, and standard eggs. I made all the cookies the same size with a #40 ice cream scoop and baked them all for 20 minutes at 350 degrees.  I checked their flavor and consistency while warm, when cool and for two days after being baked. It was interesting to see so plainly how differently the sweeteners worked. 

Below are my results 

  • Erythritol cookie – This cookie was soft, lightly brown, didn’t spread at all while baking, had a noticeable cooling effect, and hardened immediately as it cooled. After 12 hours it was rock hard and remained that way. 
  • Xylitol cookie –  This cookie spread while baking like a sugar-based cookie, it browned slightly, it was quite sweet, it was soft and crumbly while cooling but after 12 hours became hard and shortbread like.  It didn’t brown at all. 
  • Allulose cookie – This cookie didn’t spread at all but became brown quickly, it was moderately sweet, held together while cooking, had a more recognizable sweet, caramelized flavor, and was still tender after cooling and remained moist and tender 12 hours and beyond
  • Bocha sweet cookie – this cookie was sweet, very soft, and crumbly, it spread like a sugar-based cookie, it remained soft as it cooled. It tasted good and would be hard to tell apart from table sugar by the taste alone. After 12 hours it became hard and crumbly like short bread. It didn’t brown at all. 

Based on my experience with these cookies and my keto baking over the years, I suggest keeping at least two sweeteners to work with. Erythritol is less expensive, easy to source and has many uses, and when combined with another sweetener like allulose or Bocha Sweet you can create some impressive keto baked goods and sweets. From there, its up to you to experiment and see what you like the best. 

Happy Cooking!

By |2020-11-03T09:33:07-07:00November 4th, 2020|Categories: Cooking Tips with Taffy|Tags: , , , |1 Comment

Let’s Talk About Fat

Let’s talk about fat, the north star of the ketogenic diet. A well-formulated ketogenic diet is not only low in carbohydrates, but also high in good quality fats. For a professional cook like myself, that is exciting news because fat is also a foundational ingredient in some of the best cooking around the world. Fat is central to the world’s cuisines not only because it’s an important macro nutrient we can’t live without, but because it contributes flavor, moisture, texture and depth. Fat makes food more satisfying, and more satiating too. 

In the early to mid-20th century, the average American home cook was being encouraged to replace lard with shortening and butter with margarine. But professional cooks across the country were holding on tight to their precious traditional fats. They knew nothing man-made could replace them. 

Thankfully, in the past decade natural fats have made a resurgence in home cooking as people welcome traditional foodways back into their kitchens. Now that fat is back home, cooks sometimes need a few pointers on how best to source, store and cook with it

Different Cooking FatsCooking with animal fats can take a bit of getting used to if you haven’t used them before. But once you start using them you won’t want to go back to industrial seed oils ever again. Animal fats like beef tallow and lard are more stable, taste better and give more consistent results in cooking or baking. An egg fried in tallow or lard will cook more evenly, and is less likely to burn than an egg cooked in commercial seed oils like canola or corn oil.

Animal fats have greater stability, higher smoke points and more protective compounds than their commercial counterparts which means they are less likely to oxidize and turn rancid when safely stored and handled. It is important to avoid rancid fat which tastes bad and is unhealthy. It is also important to avoid heating oils beyond their smoke point because it’s unhealthy and a reliable way to start a grease fire. 

This is a good time to mention that you should always keep a working fire extinguisher in your kitchen. You can extinguish a small grease fire with baking soda, salt, or a lid placed over the pan. You cannot put out a grease fire with water. And did you know if you have an old bag of flour hanging around, you can use it clean up spilled oil? Just sprinkle enough flour over the spill to absorb all the oil, when you no longer see oil coming through the flour simply sweep it up. It should take all the oil with it and leave the floor clean.

Now that we all agree animal fats are great, where to begin? The simplest way to start using animal fat is to keep the fat that renders naturally from cooking meats and poultry (the “drippings”) and store them in a clean jar in the fridge. For instance, if you roast a chicken or a goose, you can reserve the fat that renders off during roasting. Searing duck breast will produce a surprising amount of fat, and of course bacon fat is easy to procure and store for cooking.

When you want a more neutral fat for cooking and baking, it’s time to render your own lard or tallow. If you have a trusted butcher, you can ask them for fat. You can also try specialty markets near you or look for a local farmer who may be able to save you fat when they process animals. 

  • Lard comes from pork fat and can be rendered from fatback, pork belly or leaf fat, which is the fat from around the animal’s kidneys. Leaf fat results in the mildest lard, prized for baking. 
  • Beef and lamb suet is the fat from around the animals’ kidneys, it can be rendered into tallow to make the best fat for frying. Suet can also be used as is in baking, it is usually grated. 
  • Chickens have fat that can be rendered into schmaltz, sometimes cooked with aromatics like onion and garlic for more flavor. 
  • Ducks and geese have a lot of fat under their skin and around their kidneys which produces some of the most prized fat or schmaltz

All these fats can be rendered in the same way by a low, slow melting until all the fat has become liquid, then strained to remove any remaining particles. You can render fat on the stove top, but I am partial to the following oven method for rendering fat from Chef Jennifer McLagan, author of the wonderful book Fat. This method requires less attention than the stove top method and allows for a steadier, even heat. 

Clean the fat of any connective tissue or meat still clinging to it and cut into cubes about 1-inch in size. Preheat the oven to 250 degrees and place the prepared fat in an oven-proof pan, like a Dutch oven with 1/3 cup water for every pound of fat. Place in the oven uncovered. Stir the fat after the first 30 minutes, then again after 45 minutes, and then stir once every hour until all your fat has rendered, which can take several hours. When the fat has all melted, strain and then remove it from the oven. Carefully strain it through cheesecloth into clean containers. Allow the fat to cool completely and store in airtight containers in the refrigerator or freezer. Glass jars with tight fitting lids work well for this. Be sure to label and date them. They will be good in the refrigerator for up to two months, and in the freezer for a year. 

To render fat on the stove top, follow the directions above but keep a close eye on the pot and stir it more often as it has a tendency to burn near the end of the rendering process. I would imagine you could render fat in a slow cooker too, but I haven’t tried it.

If you don’t want to render your own fat you can buy prepared lard, tallow, duck fat and goose fat. Try your butcher shop or favorite market, farmers near you or search online for farmers that ship nationally. Surprisingly, standard packaged lard is often hydrogenated and/or mixed with inexpensive oils so be sure to check the ingredients before you buy. 

Now that you have all that beautiful fat rendered what do you do with it? The answer is simple: everything. Cook eggs in bacon fat, bake keto biscuits with lard, fry your chicken wings in tallow, make mayonnaise with duck fat, sauté greens in schmaltz. 

Get creative with your Keto Chow too! Mix Savory Chicken Soup Keto Chow with flavored chicken fat, make gravy with beef drippings and Beef Soup Base Keto Chow, bake Keto Chow donuts with goose fat. Don’t be afraid to experiment and have some fun. That’s what cooking is all about. 

If I didn’t mention the fat you were looking for here, don’t worry I will be discussing more fats in future columns because that’s what keto is all about. 

Happy Keto Cooking!


Suggested for further reading:

McLagan, Jennifer Fat: an appreciation of a misunderstood ingredient with recipes, New York: Ten Speed Press, 2008

By |2020-10-19T11:45:39-06:00October 21st, 2020|Categories: Cooking Tips with Taffy|0 Comments

Keto Egg Substitutes

Last week while developing recipes, I decided to make a pumpkin scone using pumpkin puree in place of eggs, and that got me thinking. A high percentage of keto recipes rely heavily on eggs, especially keto baked goods. Eggs are a wonderful, versatile food and there is no doubt why eggs are a big part of the ketogenic diet, but they are also a common food allergen and many people must avoid them. 

I did a little research and I found that even some of my favorite keto baking gurus don’t have much to say on egg-free baking, so I thought a rundown would be helpful. 

There are commercial egg replacers available, but I have found that many of them are made either with starches that are high in carbohydrates, or proteins and oils that are less than desirable ingredients in a keto diet. 

If you or someone you know must avoid eggs, the good news is that there are keto-friendly egg replacers that can get you back in the game. If you have been missing out on baking and cooking great recipes like Keto Chow’s, you will be able to jump in and start experimenting with some of them now. 

I might add if you are new to keto and you have been having a hard time finding egg-free keto breakfast options, Keto Chow offers a lot of breakfast choices that are already naturally egg-free. You can make shakes, smoothies, lattes, protein bars, even instant hot “cereal” with Keto Chow for breakfast. 

Eggs do a lot of work in the culinary world. There is nothing else exactly like them. Eggs provide structure with their proteins, they help baked goods rise by locking in air, and they act as an emulsifier, keeping fat and water together in the same place (think mayonnaise). Considering all they do, no one substitute can do the whole job of an egg. Often you can combine more than one replacer to get the best results. 

Because most keto baked goods don’t contain gluten, the binding properties and structure of egg proteins are usually the most important part to replace. After that, moisture and the ability to emulsify fats with water are important. We can use leavening agents like baking soda and baking powder to help our baked goods rise. Adding vinegar with baking soda, or soda water in place of other liquids may help with that process too. 

Flaxseed, chia seed, and gelatin can all help keep the structure of your baked goods in place. But because they lack fat, you may want to add an additional teaspoon of whichever fat or oil you are using.  Vegetable purees and nut butter add moisture and structure but can make a dish heavy, so you may need to add more baking powder or baking soda or reduce the liquid slightly when you work with them.

A vegetable puree like pumpkin would work well in a casserole or a biscuit. Flax or chia seeds will likely work best in muffins and waffles, and nut butter usually work well in cookies. 

Gelatin works when you want a strong structure that’s less noticeable, like in a pecan pie. Egg-free mayo works well in pancakes.

The best thing to do is start cooking and baking and experiment with your replacers of choice. Once you get the hang of it, you will be baking and cooking your favorite dishes again in no time. 

Following is a list of keto-friendly replacement options. Try as many as you like, and refer to this list regularly to see what works for you. 


  • Flaxseed “egg”: Mix one tablespoon freshly ground flaxseed with three tablespoons of warm water and allow to sit for about five minutes to thicken. Add to your recipe as you would an egg. The omega 3 oils in flaxseed oxidize very easily once exposed to air so it is best to grind flax seeds when you need them. If you do grind extra, store it in the freezer, in an airtight container for best results. 
  • Boiled flax seed “egg”: Simmer 3 tablespoons whole flaxseed with 2 cups water in a small saucepan, uncovered for approximately 20 minutes until a sort of gel has formed. Strain through a sieve, discard the flax seeds and store the gel in an airtight container in the refrigerator for up to one week. Use 3 tablespoons of gel to replace one egg. This is a bit more time consuming than the ground flax seed method, but it works well when you don’t want the color or texture of flax seeds to alter the texture or color of your recipe. It also has more strength than the ground flax version and since you use whole flax seeds to make this “egg” you don’t need to worry about your flax seed going rancid.
  • Chia seed “egg”: Mix 1 tablespoon chia seeds with three tablespoons warm water let it sit about 10 minutes until a gel has formed. The nice thing about chia seeds is that they don’t have to be ground to gel with water, but they do need a few more minutes to work. You can make them up to a day ahead and store in the refrigerator until ready to use. 
  • Gelatin “egg”: Sprinkle 1 tablespoon plain gelatin over 1 tablespoon cold water and let it soften, then stir in two tablespoons very hot water. Let the mixture sit to thicken up for a couple of minutes. Don’t let it sit too long or it will set. 
  • Vegetable puree: Use 1/4 cup pureed pumpkin or mashed avocado in place of each egg. This replacement works best for one to two eggs. Any more can make your recipe heavy and stodgy.
  • Nut and seed butter: Use three tablespoons of unsweetened nut or seed butter for one egg. Almond butter, tahini, peanut butter, and sunflower seed butter are all options. As with the vegetable puree, this can make certain baked goods heavy if you use more than one or two eggs worth. 
  • Strained Yogurt: Use 1/4 cup full fat, Greek-style yogurt to replace one egg. Greek or strained yogurt has more protein and less water than other styles of yogurt so it works better as an egg replacement.
  • Egg-Free Mayonnaise: 3 tablespoons for one egg. This might sound funny but if you already have an egg-free mayonnaise you enjoy, it makes a great egg replacer. It adds stability, moisture, and fat to baked goods. 
  • Silken tofu: 1/4 cup silken tofu to replace one egg. While soy has become a contentious food product lately, it does do the job of replacing an egg better than almost anything else. I source good quality, traditionally made soy products of the type people have been eating for thousands of years, like sprouted, cultured tofu. Tofu has one other advantage which is it can be substituted in egg-based dishes like breakfast scrambles and quiche where no other replacer can. There are even some soy-free tofu alternatives on the market made from seeds like hemp and pumpkin (although I have not tried them personally so I can’t say how well they would work).

Happy Keto Cooking!


By |2020-09-30T09:13:24-06:00September 30th, 2020|Categories: Cooking Tips with Taffy|Tags: , , , |0 Comments

Using Powdered Fats With Keto Chow

Hello and welcome to Cooking Tips with Taffy. I’m Chef Taffy, and I am a professional cook, instructor, and recipe developer. You may already know me from the recipes I create for Keto Chow and the videos I’ve made with them.  I love teaching and I’m here to share my favorite tips and tricks with you to make your keto cooking and baking easier and more enjoyable. 

Twice a month I will be here talking about the fundamentals of keto cooking and baking and all the great ways you can use Keto Chow beyond delicious meal replacement shakes. I will be focusing on different topics that I hope will inspire you to try something new or answer a question about cooking you’ve always wanted to ask. 

I thought it would be fun to kick things off with something simple that doesn’t even require cooking beyond heating water. I’m sharing a set of mini recipes for making some of my favorite Keto Chow recipes with dry fats so you can just add water when you are ready to use them. They are so simple that everyone in the family can make their own, and they come in handy for so many occasions from camping, to travel, or a day at the park. You don’t have to leave the house for these convenience foods to be of use, though. You can prep them in advance for days when you need a quick Keto Chow fix or want something easy so that you can keep working or studying from home. 

These recipes are my take on some of the most familiar convenience foods you may have given up when you got on the keto band wagon. The good news is now you can have them back, keep your keto lifestyle, and make them to suit your needs and tastes. And once you’ve made a couple of these recipes, you can use your creativity to invent some combinations of your own. 

You will need a few ingredients that may not be readily available at your local grocery store, but you can order them online or find them at your favorite sporting goods stores and supplement shops. All you need is heavy cream powder, butter powder, and MCT oil powder to start. If you want to make the Cheesy Spicy Taco Soup mix you will want to invest in cheddar cheese powder, and you’ll need freeze-dried blueberries for the instant hot cereal.  Other than that, all you need is a few of your favorite Keto Chow flavors, and you should be ready to make these fun and easy instant goodies. 

One note about dry fats: be sure to look for powders that have no fillers or additives. The one exception to this rule is MCT powder which is always produced with some type of carrying agent, so look for a high quality MCT powder that contains a carrying agent like acacia fiber as opposed to a starch like maltodextrin for best results. And as always, read the ingredients and the macros before purchasing new ingredients to be sure they fit your needs.

jars of powder KC mixes

Camper’s Keto Chow

Mix the ingredients directly in a shaker cup or in a small plastic bag or airtight container.  Store in a cool, dry place.

To prepare, add to 16 ounces of water and shake or blend. 

Yield: 1 serving


Keto Instant Coffee Creamer 

  • 1/4 cup MCT powder
  • 1/4 cup heavy cream powder
  • 1 scoop Keto Chow – Vanilla and Salted Caramel are two of my favorite flavors for this recipe

Mix the ingredients together. Store in an airtight container in a cool, dry place. 

To prepare, add one tablespoon creamer to 8 ounces of coffee. Feel free to adjust the amount according to taste.

Yield:  16 servings


Delightful Instant Coffee 

  • 1/2 cup instant coffee
  • 1/4 cup MCT powder
  • 1/4 cup heavy cream powder
  • 1 scoop Keto Chow – any flavor; Vanilla and Salted Caramel are both good
  • 3 tablespoons sweetener (optional)

Mix ingredients together and store in an airtight container in a cool, dry place. 

To make coffee, add two tablespoons of the coffee powder to 8 ounces of hot (not boiling) water. Adjust according to taste. 

Yield: 12 servings


Instant Cheesy Spicy Taco Soup

  • 1 scoop Spicy Taco Keto Chow
  • 2 tablespoons cheddar cheese powder
  • 1 tablespoon butter powder
  • 1 teaspoon chili powder 

Mix all ingredients together. Store in an airtight container in a cool dry place. 

To make soup, add 14 ounces hot (not boiling) water to the dry mix and blend well. 


Banana Blueberry Instant Hot Cereal

  • 1 scoop Banana Keto Chow 
  • 2 tablespoons ground flax seed
  • 1 tablespoon coconut flour
  • 2 tablespoons heavy cream powder
  • 2 tablespoons butter powder
  • 1 tablespoon freeze-dried blueberries

Mix the ingredients together in a thermal cup or a container with an airtight lid. 

To prepare cereal, add 6-8 ounces hot (not boiling) water and stir. 

Yield: 1 serving


Onion Soup Mix

  • 1 scoop Beef Soup Base Keto Chow
  • 3 tablespoons butter powder
  • 1 tablespoon onion flakes
  • 1 teaspoon garlic powder
  • 1 teaspoon parsley
  • 1/2 teaspoon salt
  • 1/2 teaspoon white pepper

Mix ingredients together and store in an airtight container in a cool, dry place. 

To prepare soup, mix dry ingredients with 14 ounces hot (not boiling) water and blend well. 

Yield: 1 serving


Tip for making larger quantities: You can make any of these recipes in larger amounts by weighing each ingredient separately, and then measuring the total weight of the final product. Simply multiply the ingredients by the amount of servings you want to make. For instance, if you make Camper’s Keto Chow with a 50-gram scoop of Chocolate Keto Chow, 10 grams of MCT powder, and 15 grams of heavy cream powder one serving would equal 75 grams. To make ten servings, combine 500 grams of Keto Chow, 100 grams of MCT powder, and 150 grams of heavy cream to equal 750 grams total. Each serving will be 75 grams. 


By |2020-09-25T16:21:44-06:00September 4th, 2020|Categories: Cooking Tips with Taffy|6 Comments